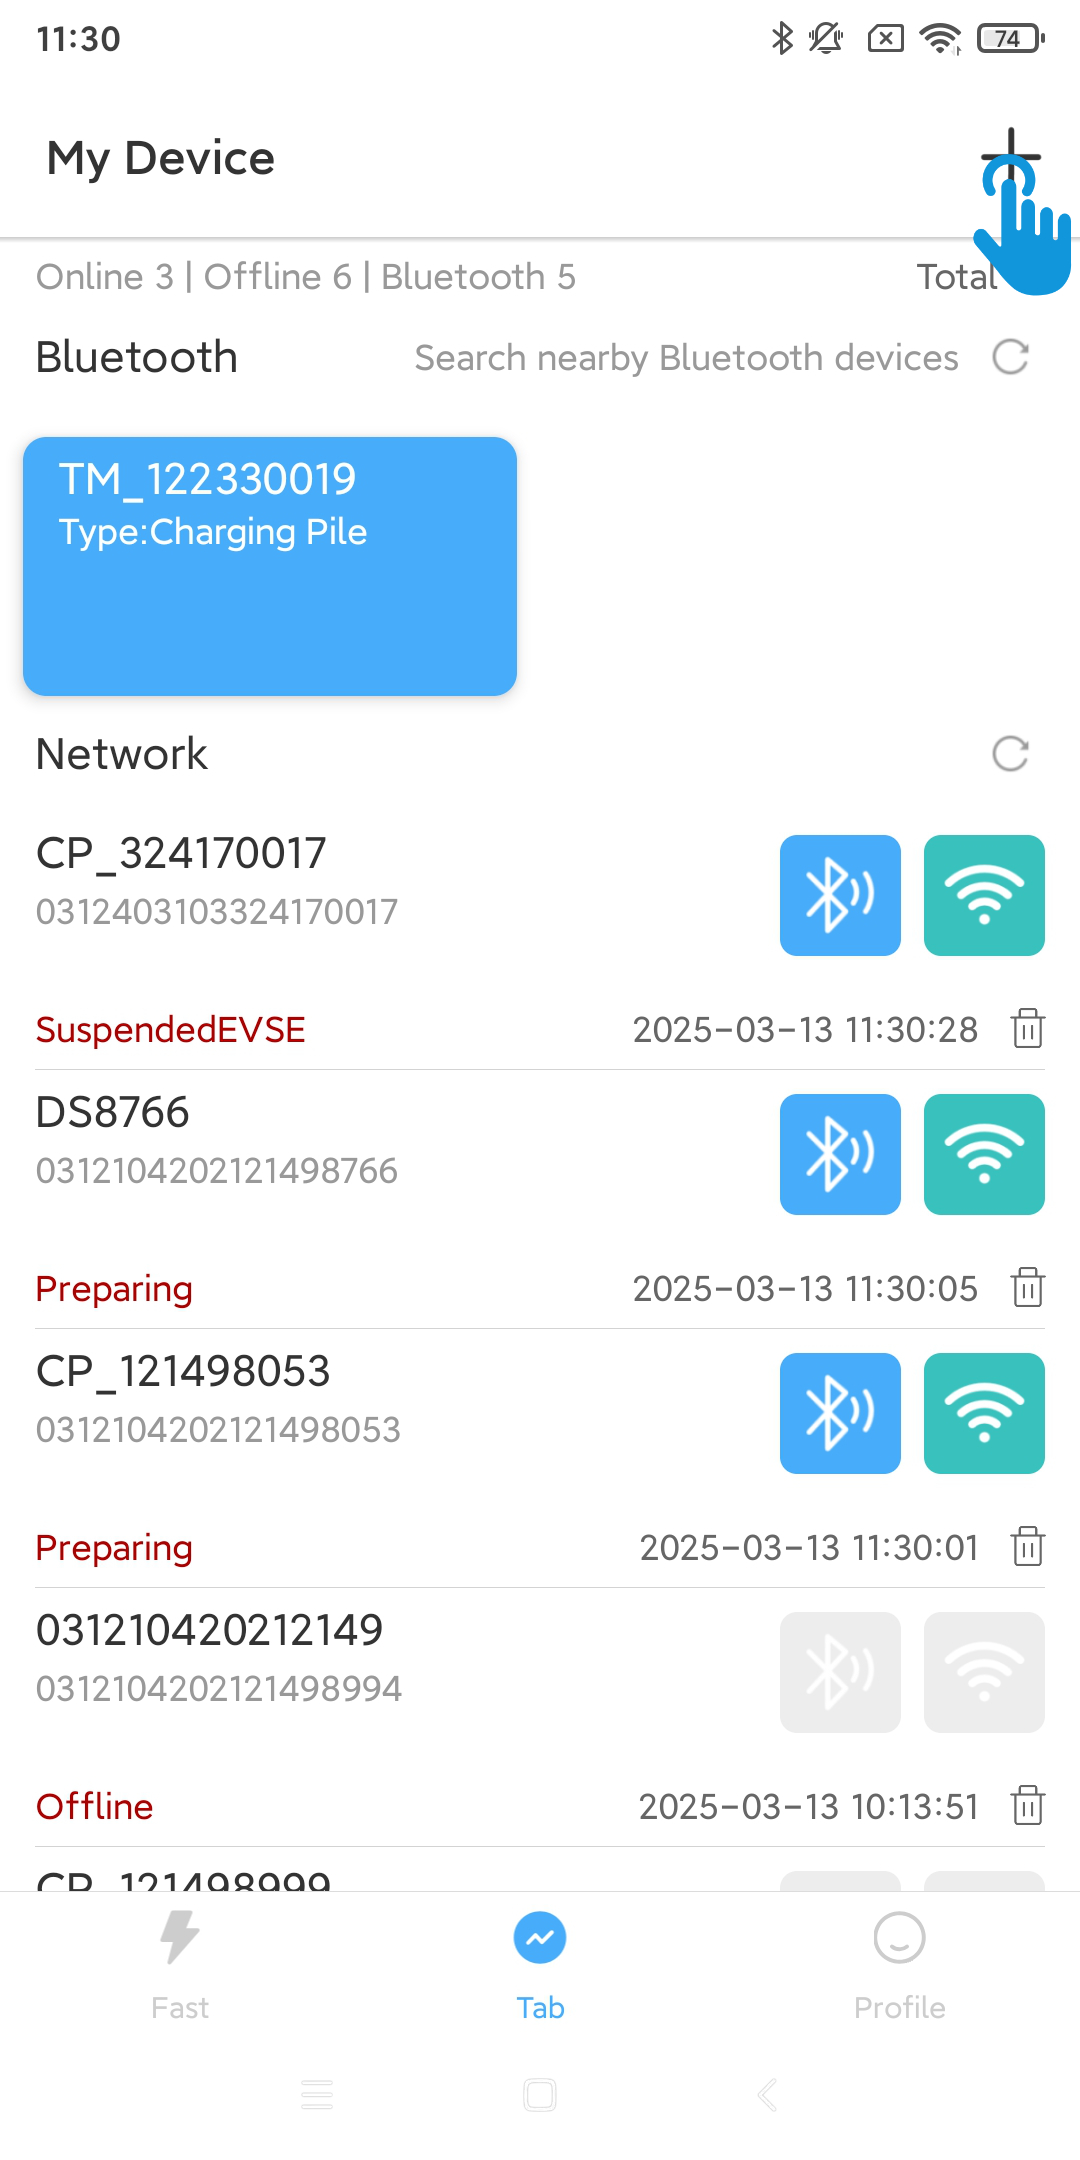
3. Network configuration
3.1. Search for devices
You need to turn on the positioning function and Bluetooth function, and allow the X Smart app to use the positioning permission and the permission to find nearby devices (Bluetooth).
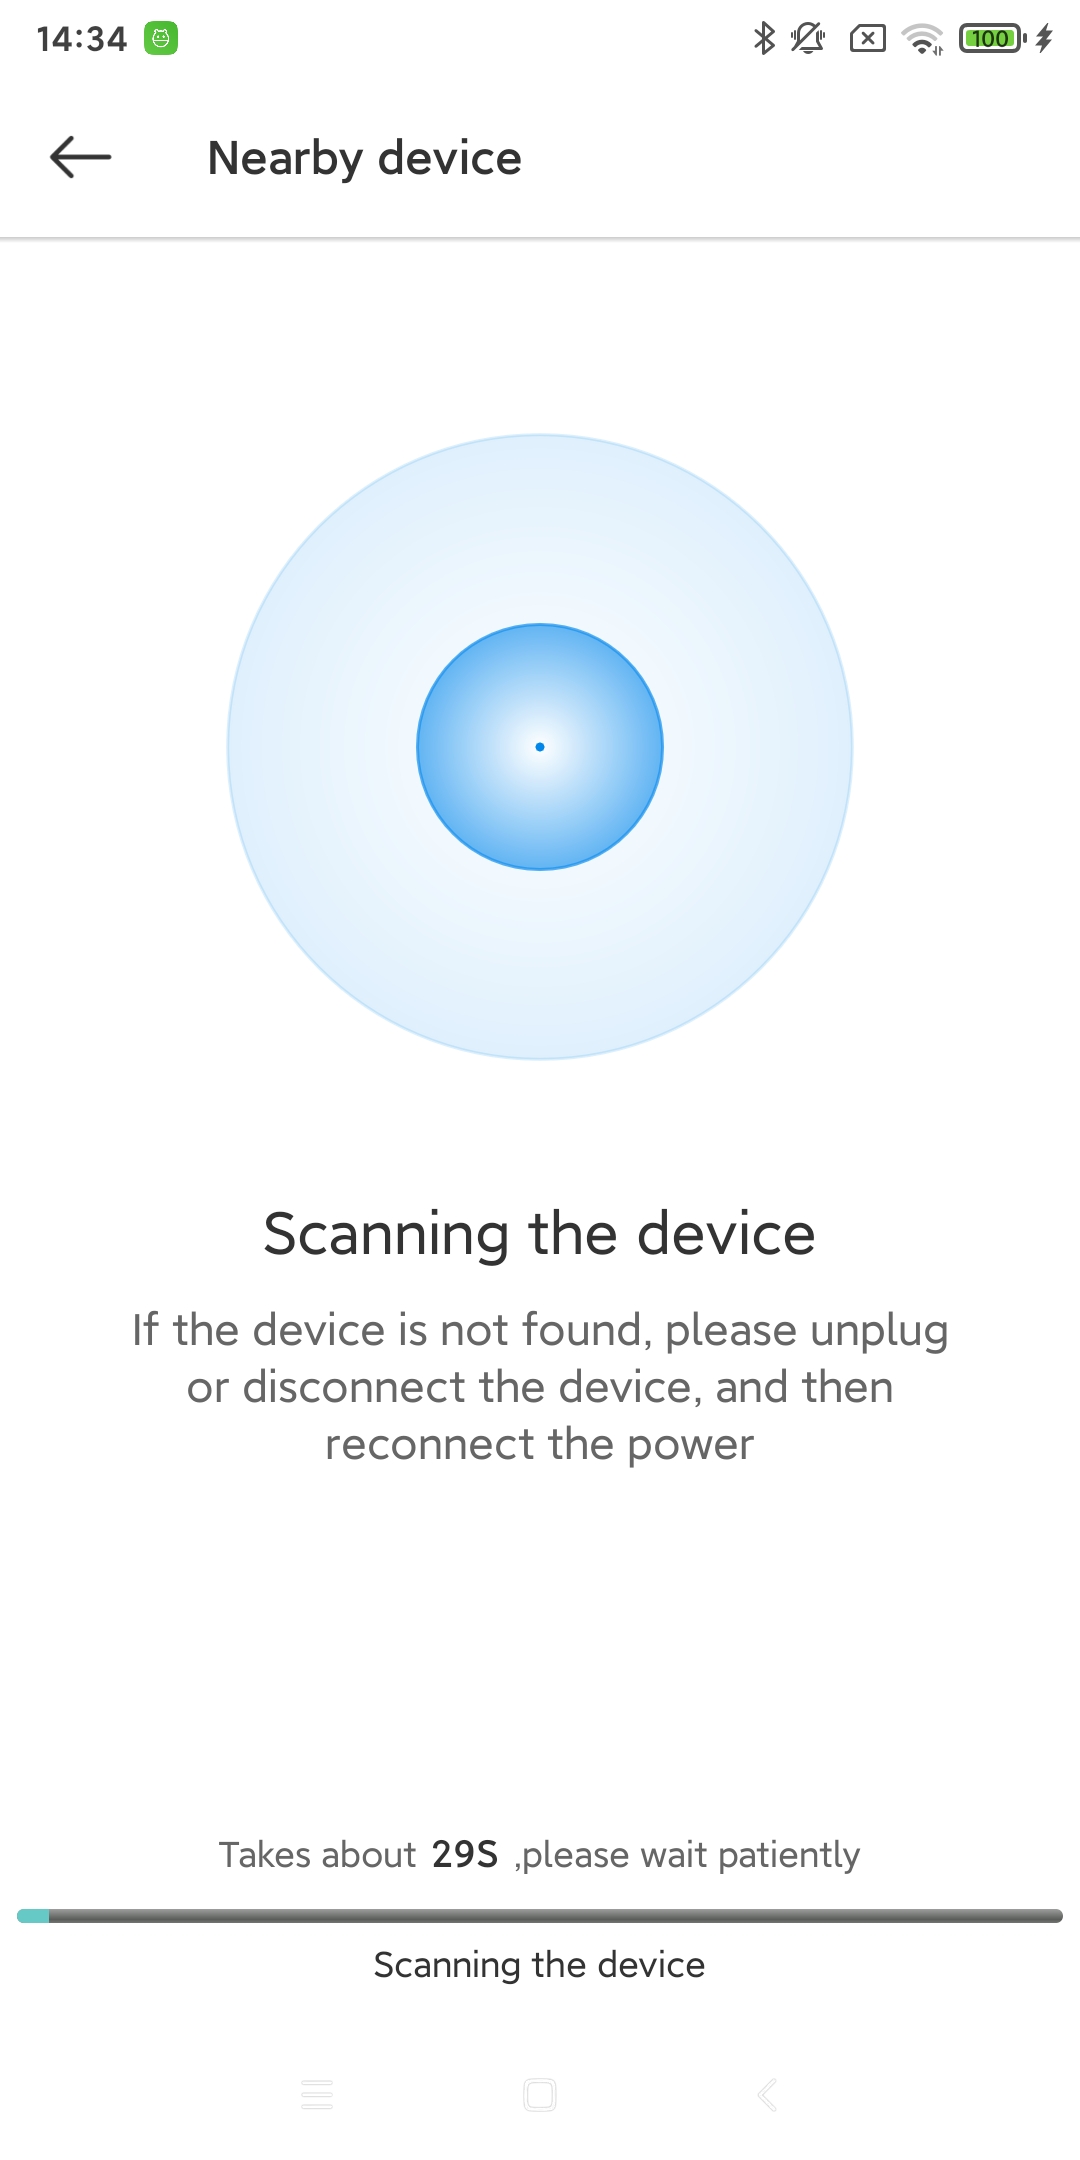
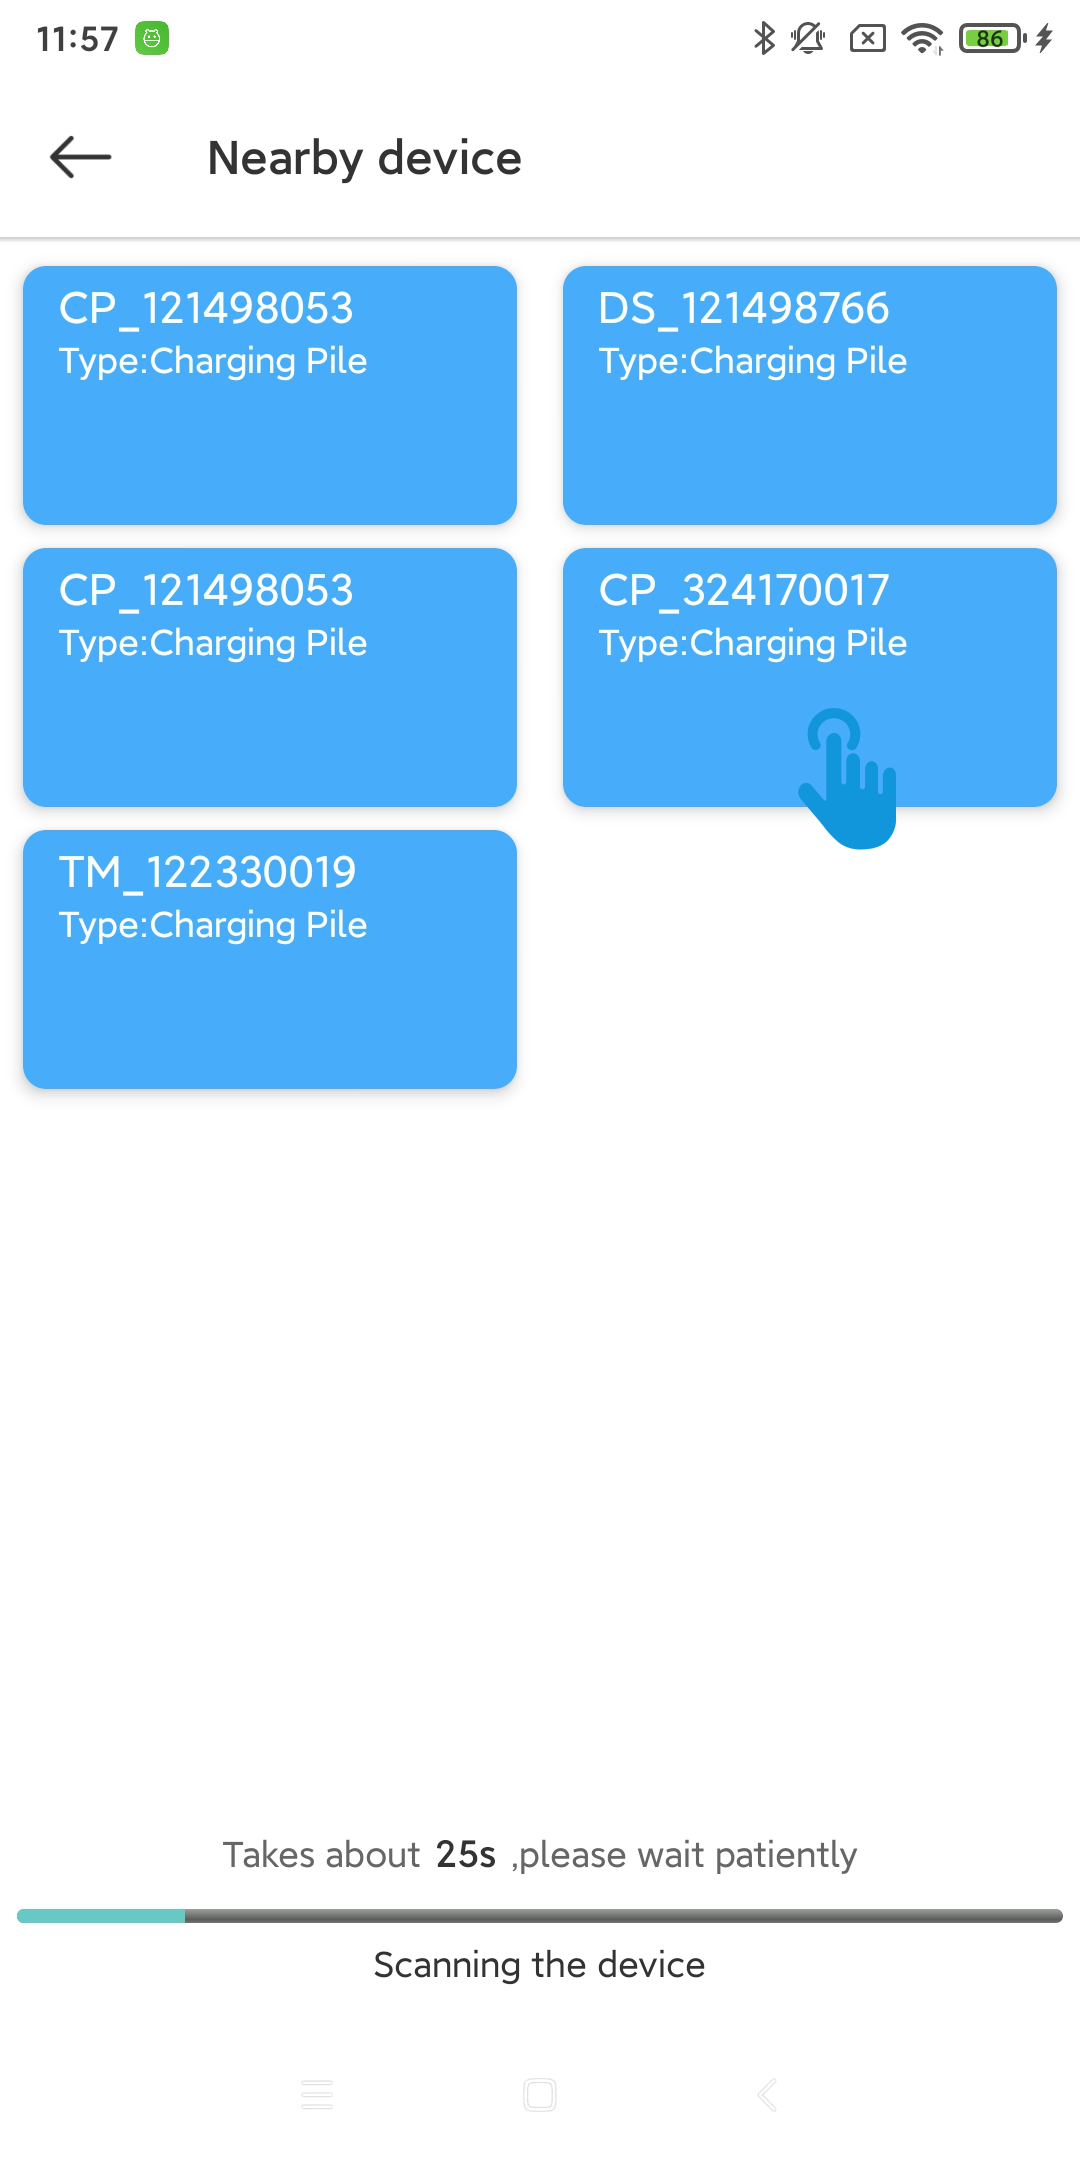
Click the + button on the Fast or Tab page to enter the Nearby Device Search page.
3.2. Configure the connection
3.2.1. Device networking mode
The device supports three networking modes, each requiring different prerequisites.
Wi-Fi (make sure the device is installed at a location where it can receive Wi-Fi signals and that the Wi-Fi network can connect to the Internet.)
4G (Make sure a 4G/5G IoT card is inserted in the device and that the IoT card can connect to the Internet.)
Ethernet (Make sure the device is plugged into a network cable that can connect to the internet.)
3.2.1.1. Wi-Fi
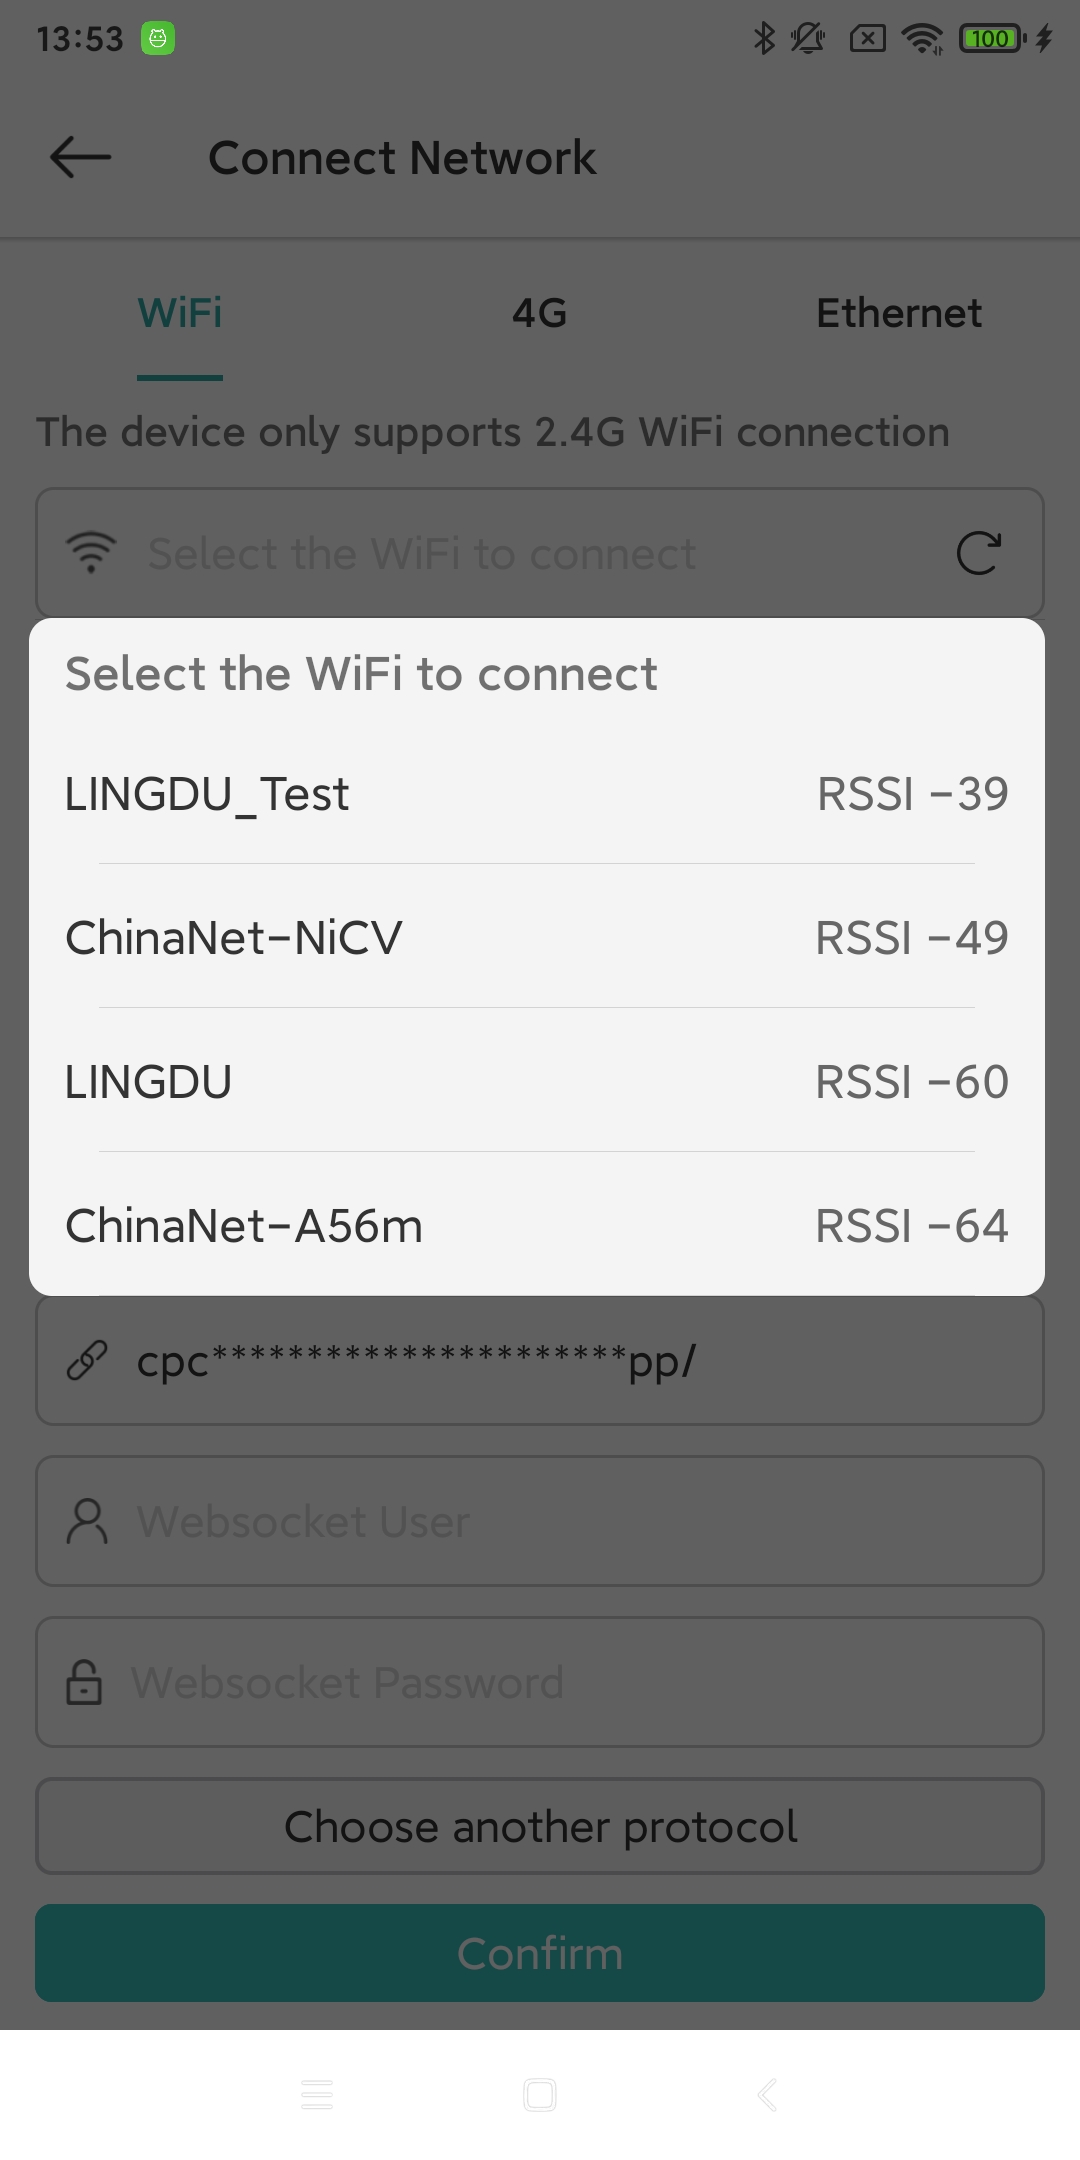
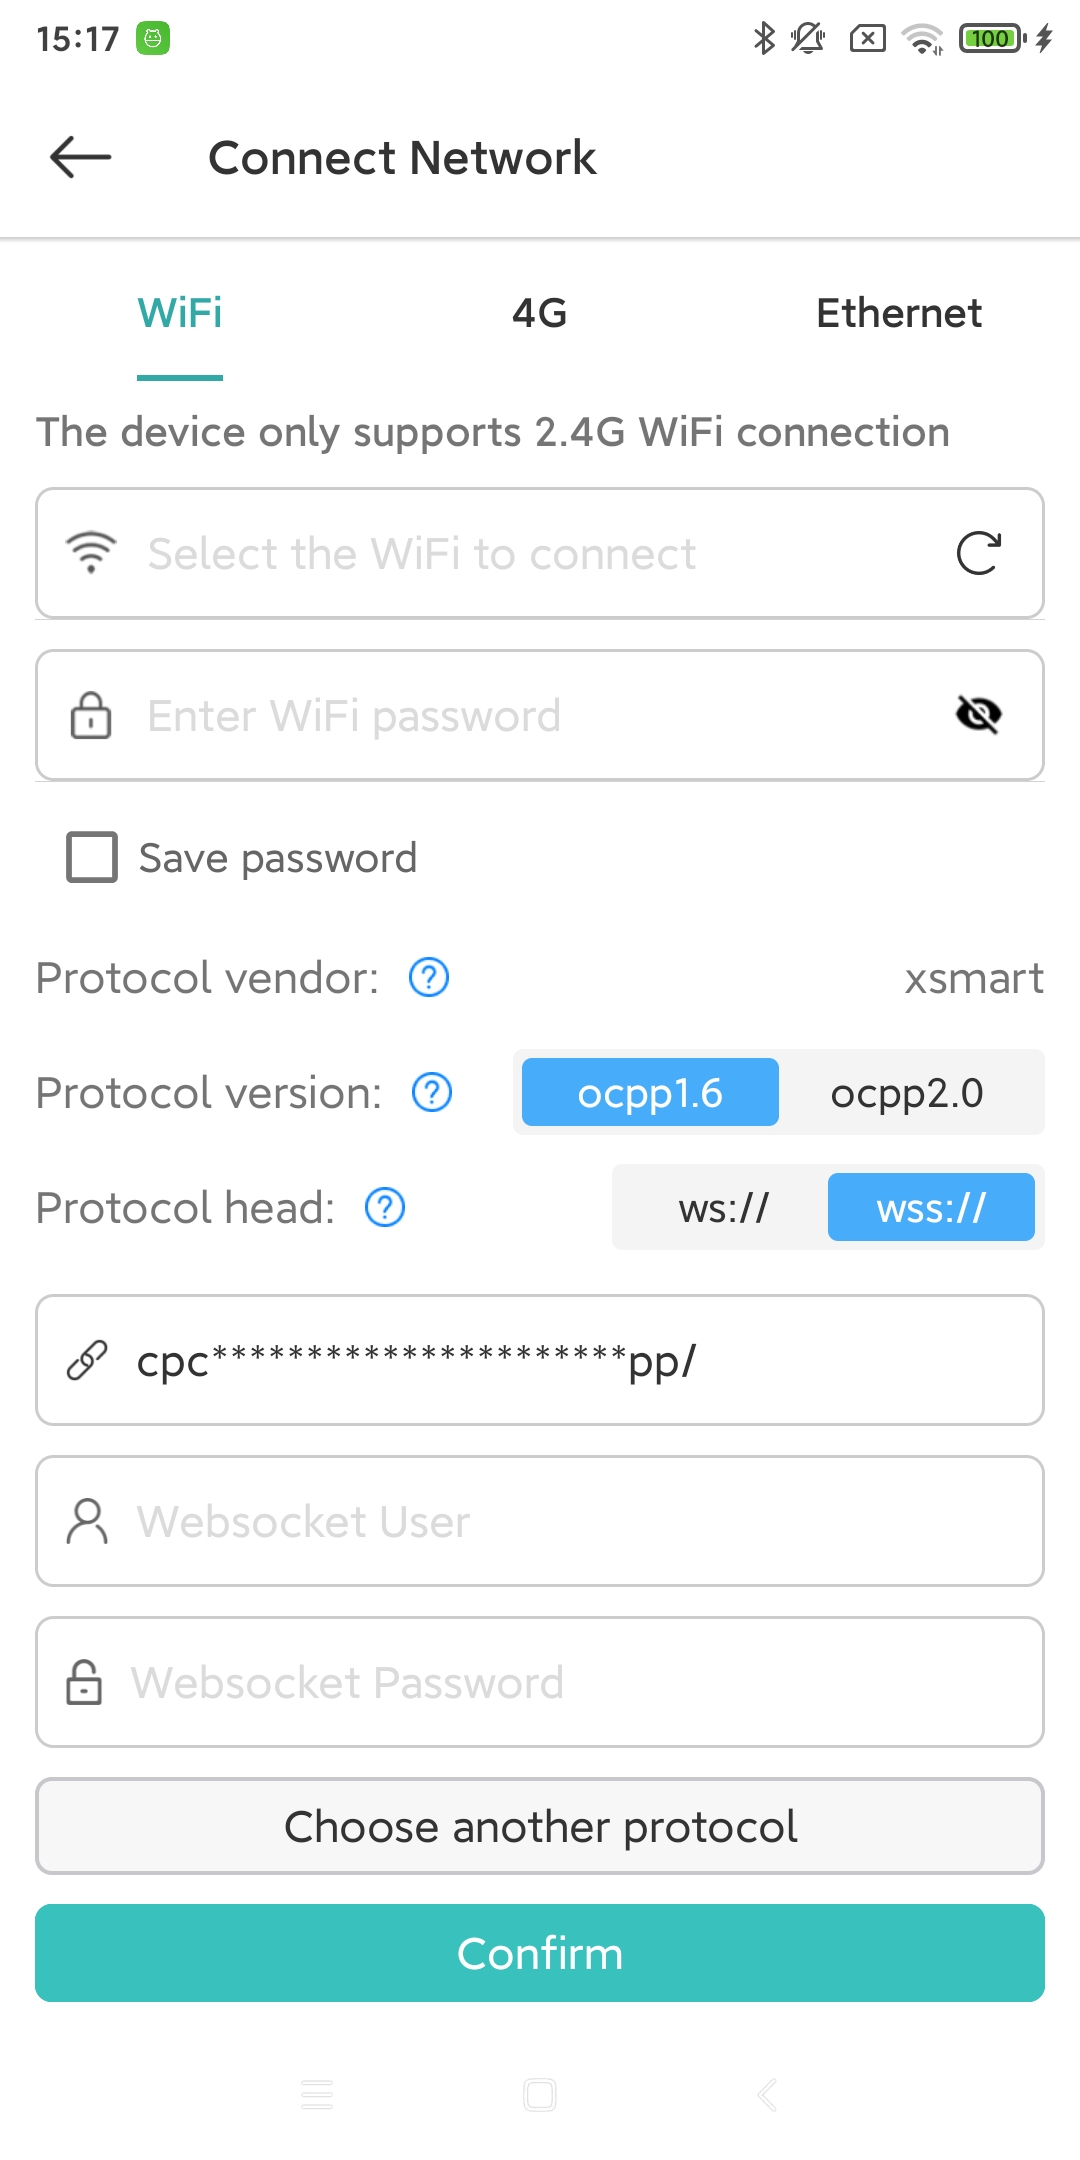
After entering the device configuration page, the default method is Wi-Fi network configuration. The app will wait for the charging pile device to automatically search for nearby Wi-Fi information. After a few seconds, the available Wi-Fi names nearby will be displayed. If the charging pile device fails to search, the app will prompt to use a handheld device for searching and display the results. If the handheld device still cannot find the Wi-Fi list, you can continue to manually enter the Wi-Fi name.
Device only supports 2.4GHz Wi-Fi
After selecting the Wi-Fi you want to connect to, enter the Wi-Fi password.
3.2.1.2. 4G
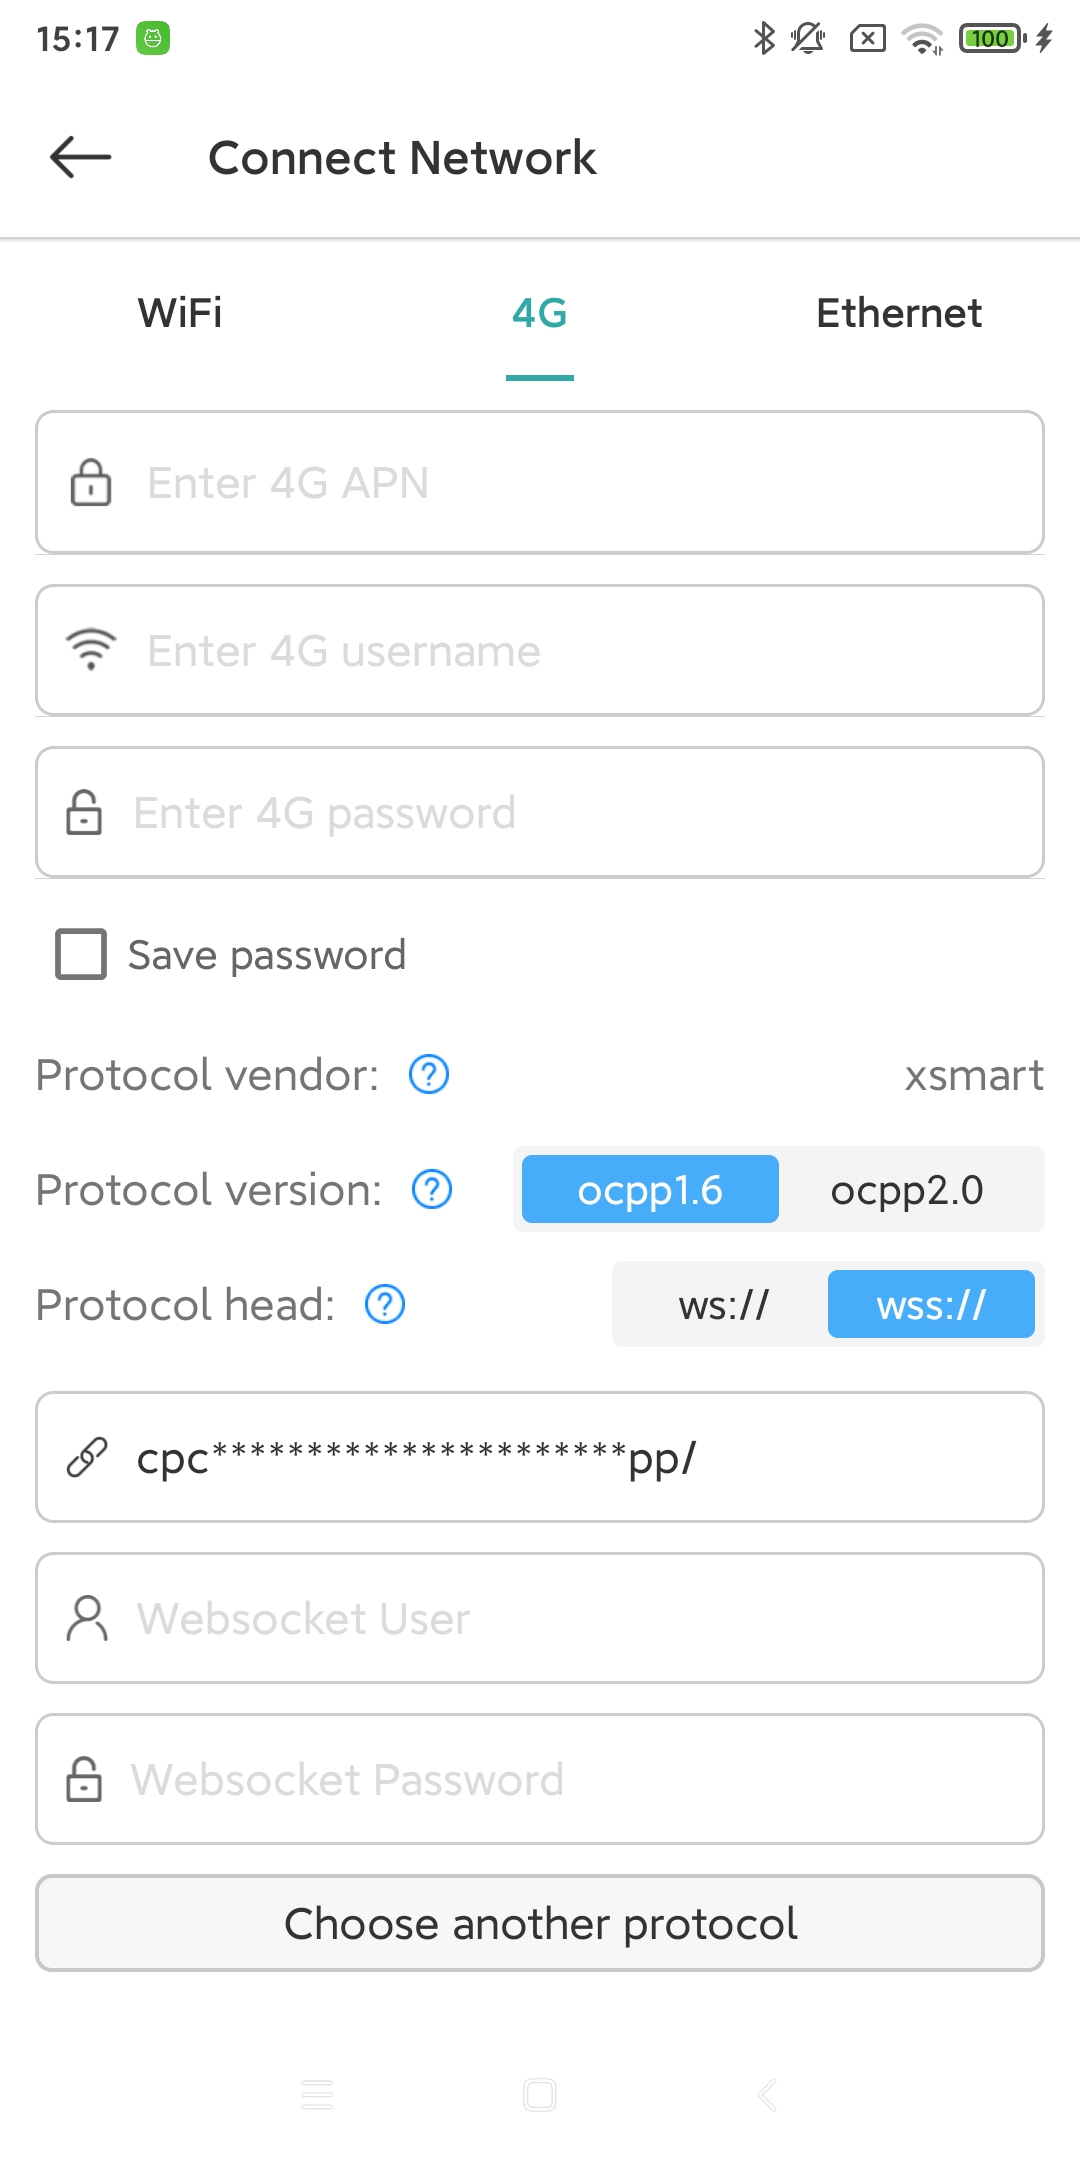
You need to enter APN, username, and password.
3.2.1.3. Ethernet
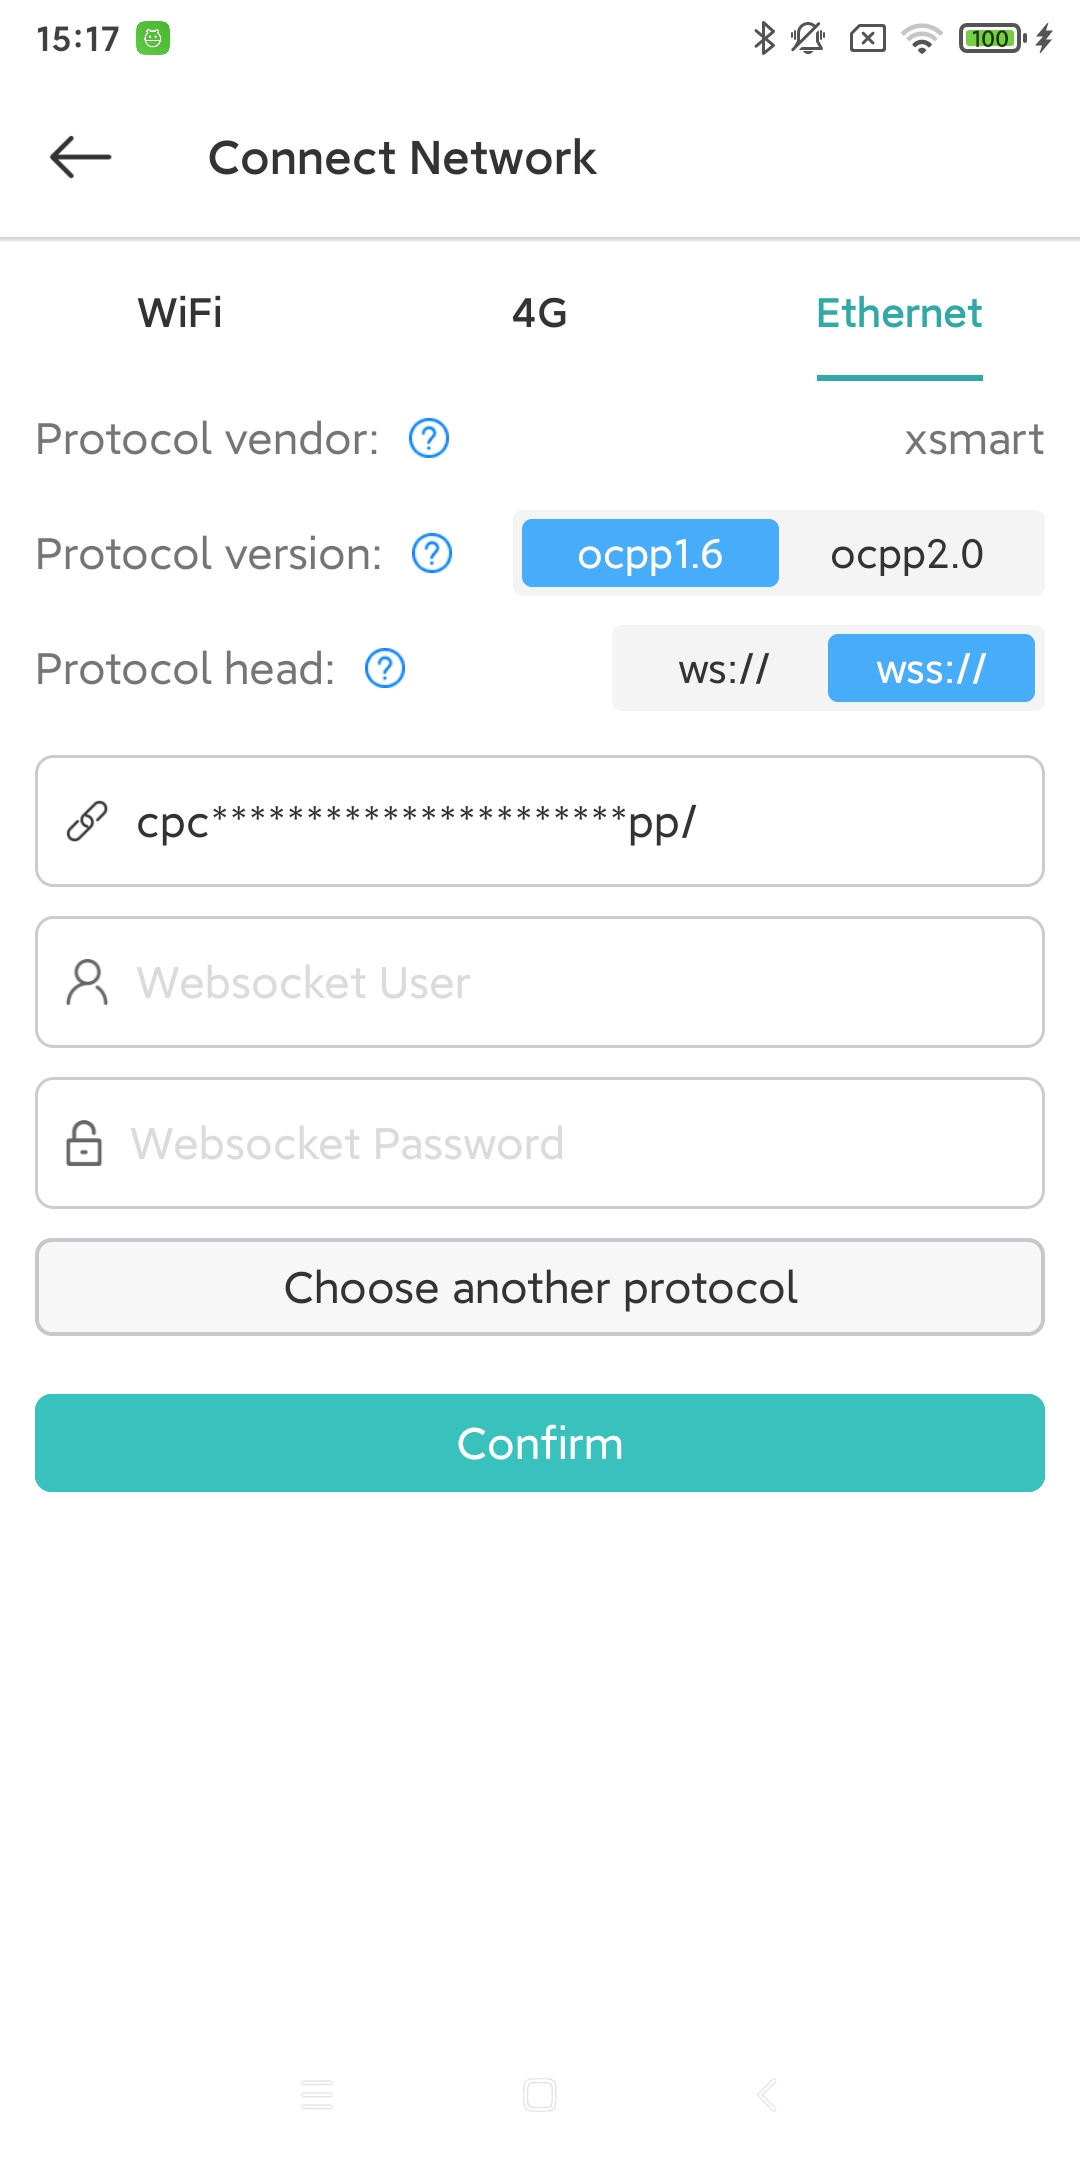
The charging pile device can be connected to the network cable.
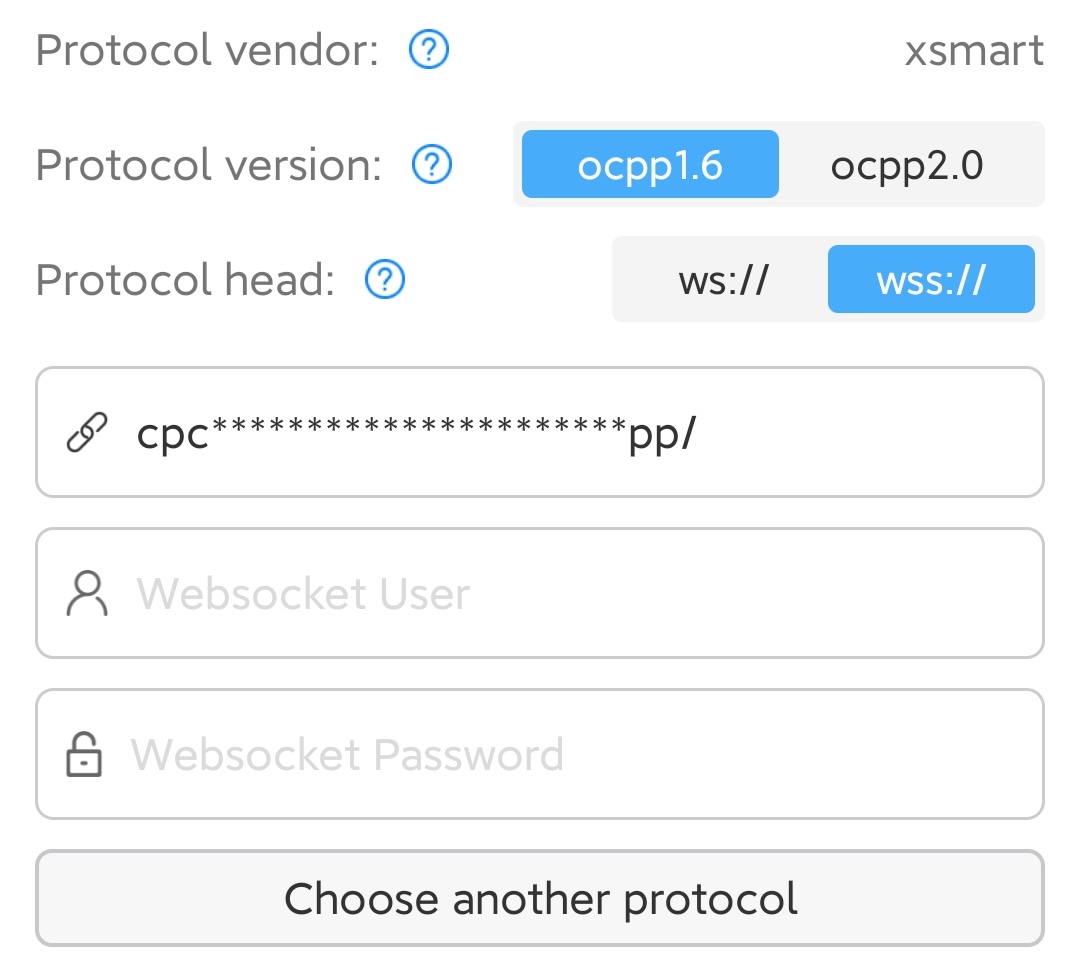
3.2.2. Configuring the Server
3.2.2.1. Device link target server
Under the Wi-Fi, 4G, and Ethernet options, there will be the following input items:
Protocol vendor (protocol vendor, usually represents the alias of the backend server address)
Protocol version (protocol version, currently charging pile equipment only supports OCPP1.6 protocol)
Protocol head (Whether the Websocket link is encrypted, with s for encrypted links)
Websocket URL (Websocket address, usually provided by the backend server)
Websocket User (Websocket connection user name)
Websocket Password
You can click ‘Select Other Protocol’ to create or choose another server address. The X Smart app is set to connect to the X Smart server by default. On the ‘Select Other Protocol’ page, there are two default links built in: one for encrypted connection and one for unencrypted connection. If the default encrypted link fails to complete the network configuration, you can switch to the unencrypted link to try the configuration.
3.3. Configuration Name
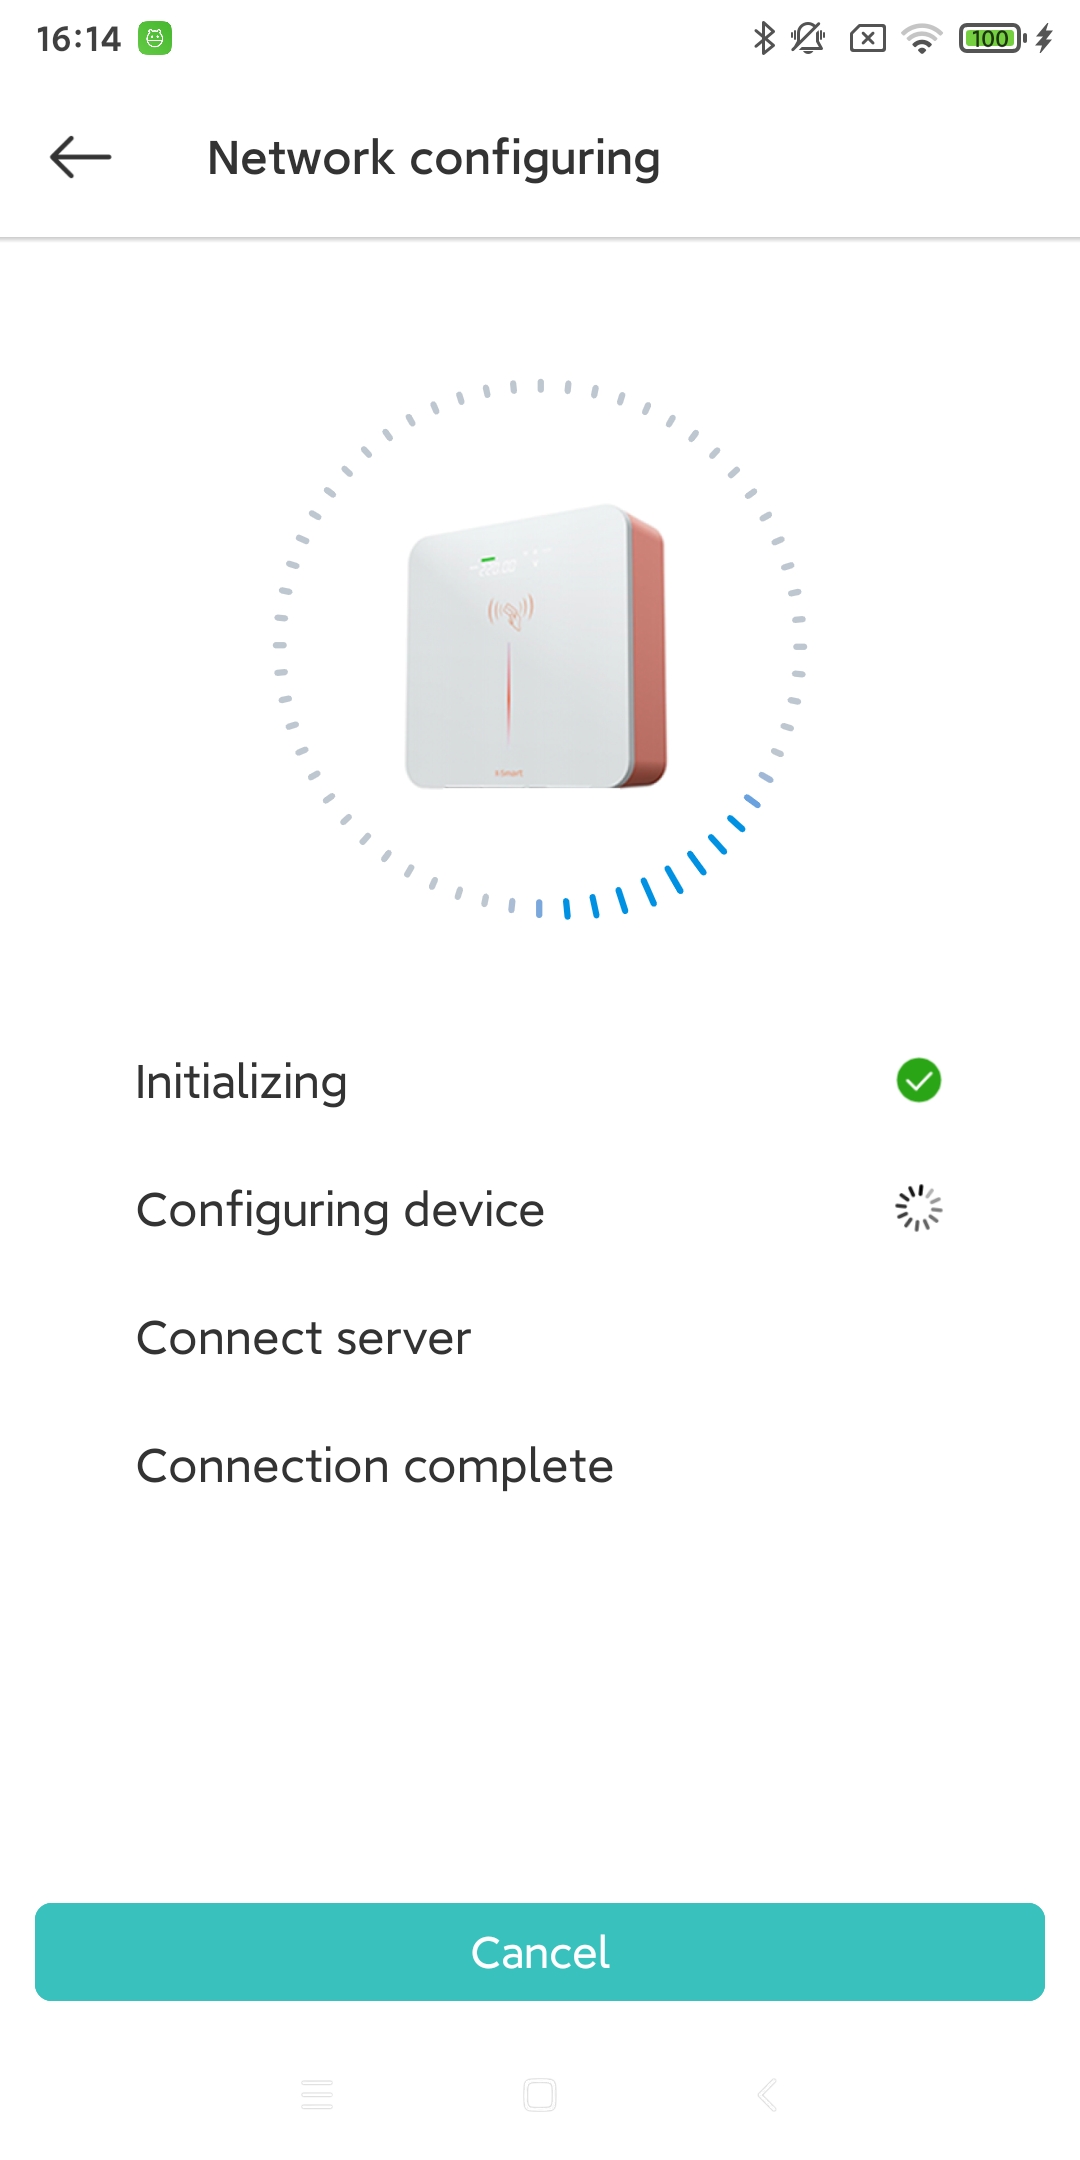
After confirming the above information, click “Confirm” to configure the network. You need to wait for 1-2 minutes during the network configuration process.
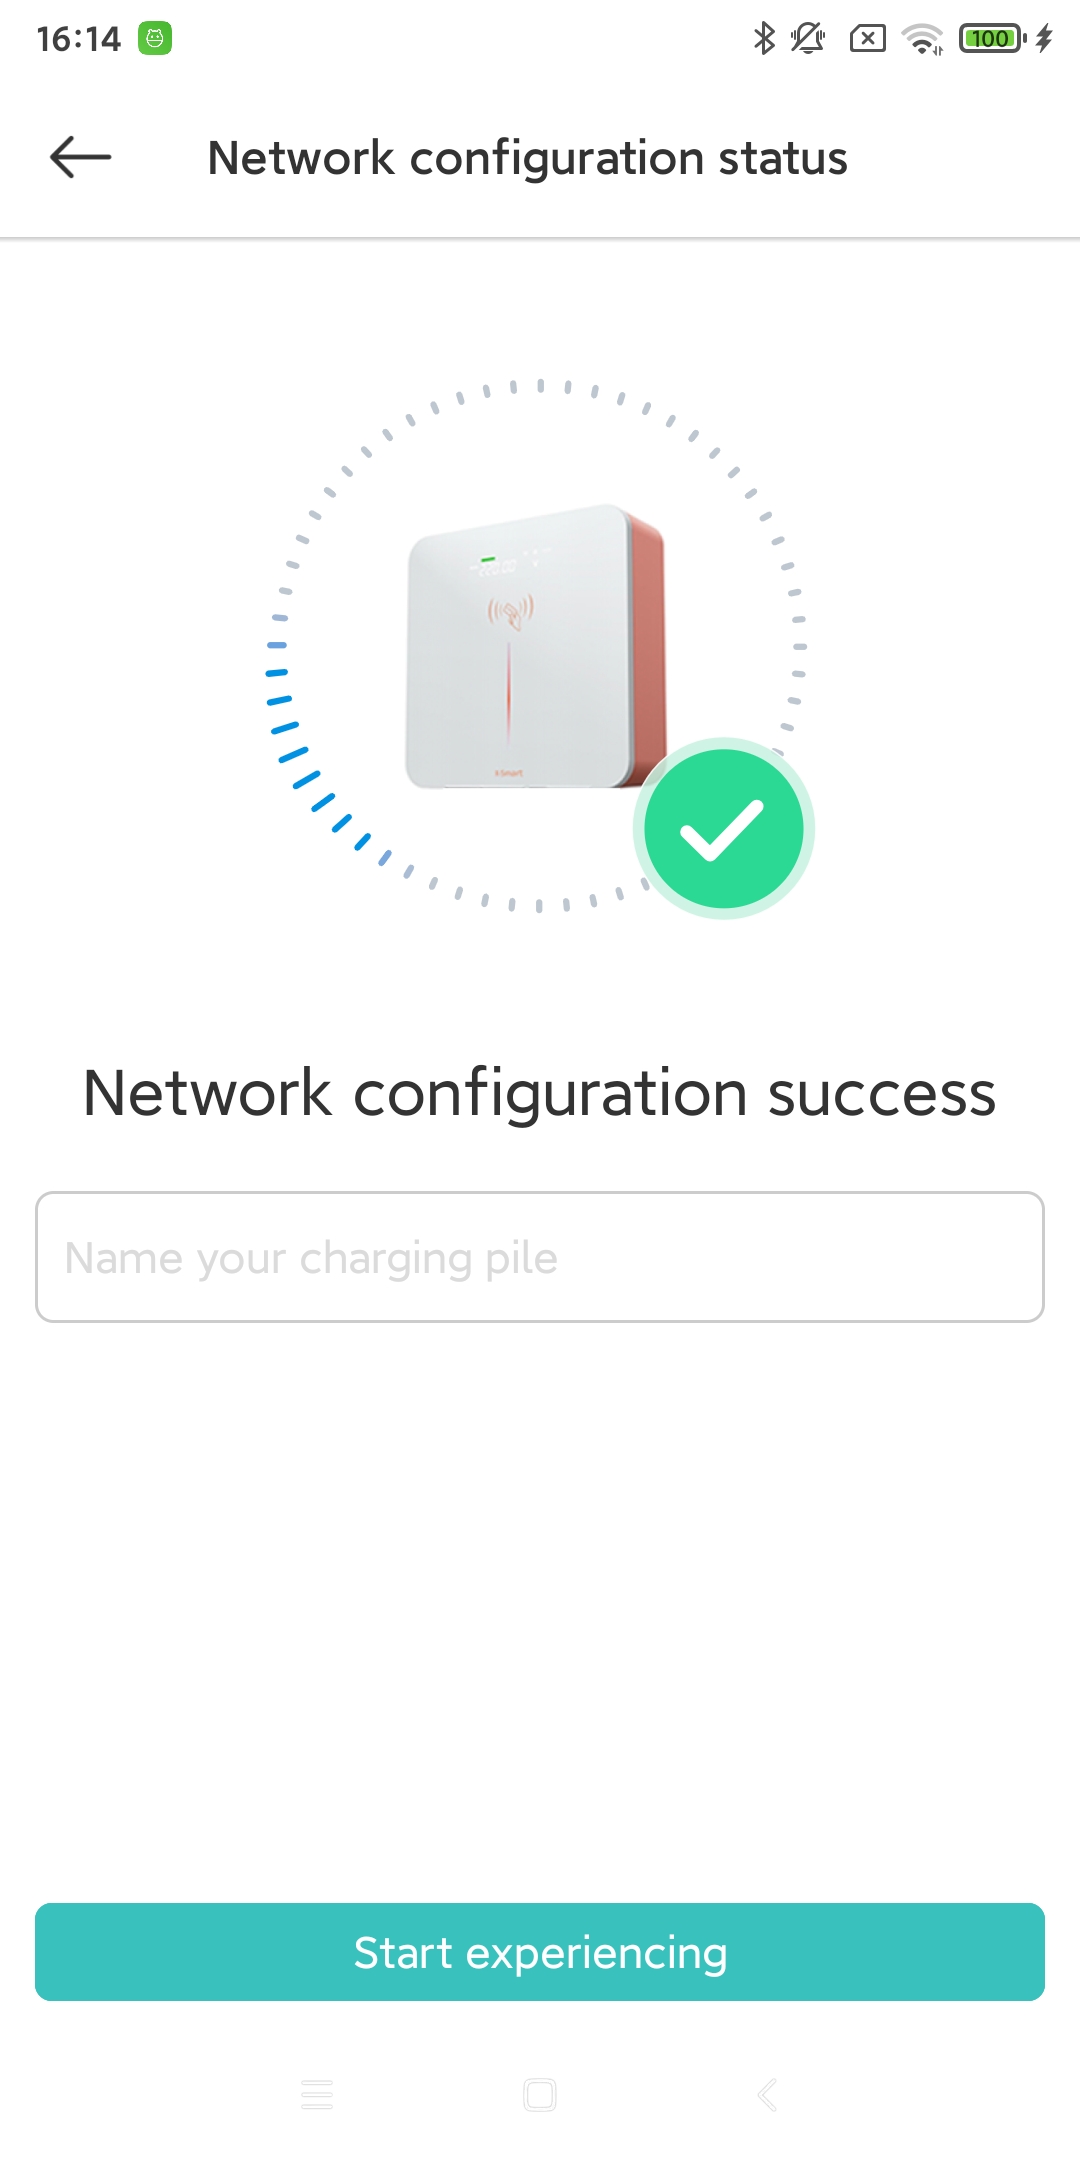
After the network configuration is completed, when the device name input screen appears, it indicates that the device has been successfully configured. You can set an alias for the device here or do it later. (X Smart will assign a default name to your device based on the Bluetooth search name.) After clicking ‘Start Using,’ the device can be used normally.